-
Download and install the Arduino IDE
-
Open Arduino
-
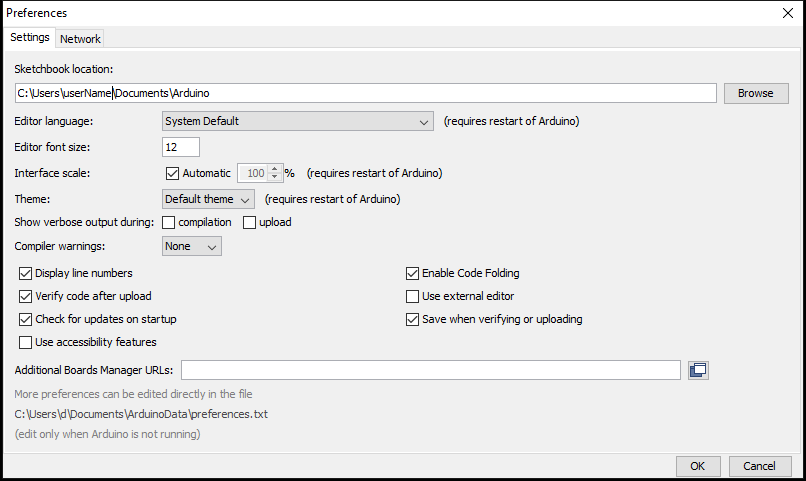
Click on: File -> Preferences
-
Copy & paste (in Additional Boards Manager URLs section):
https://dl.espressif.com/dl/package_esp32_index.json -
Click OK
-
Download and install the CP210x USB to UART Bridge VCP Drivers
This is to allow the ESP32 to communicate with your computer -
Connect a USB micro lead from your PC to your ESP32
-
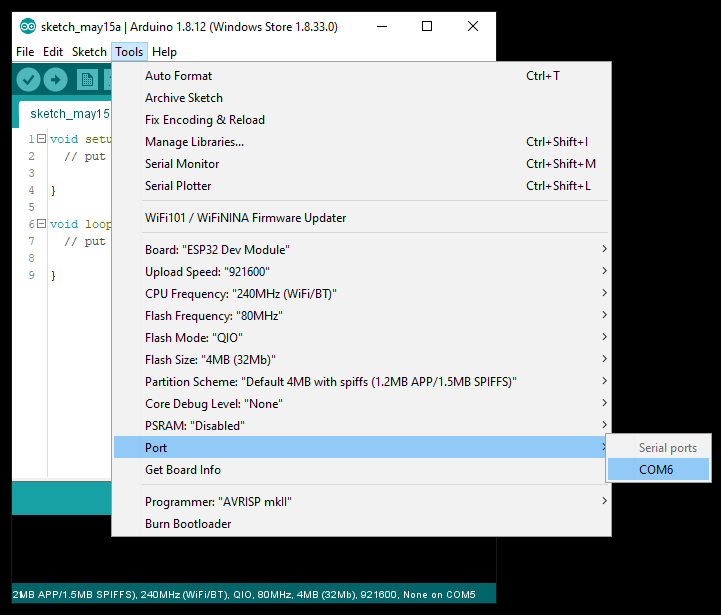
Ensure the correct port is selected: Tools -> Port
-
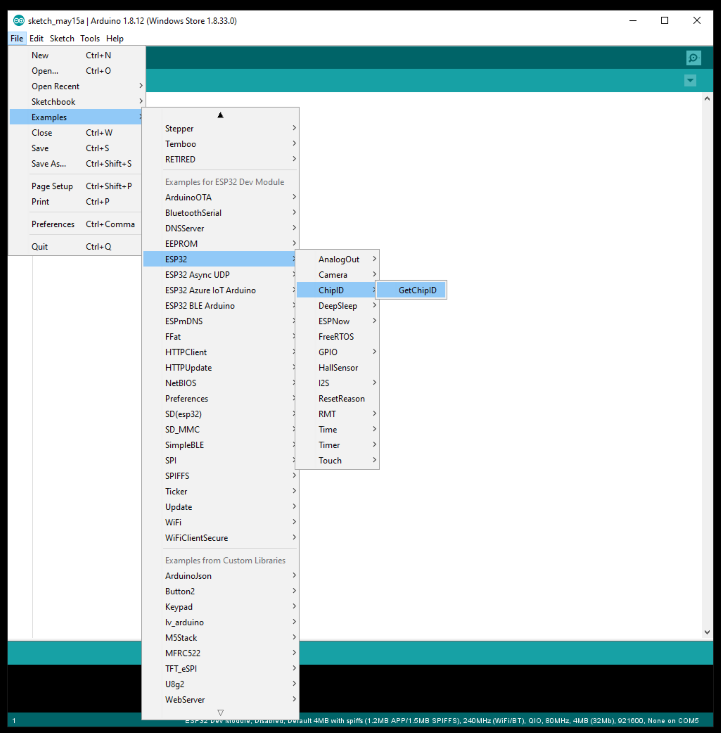
Open an example: File -> Examples -> ESP32 -> ChipID -> GetChipID
-
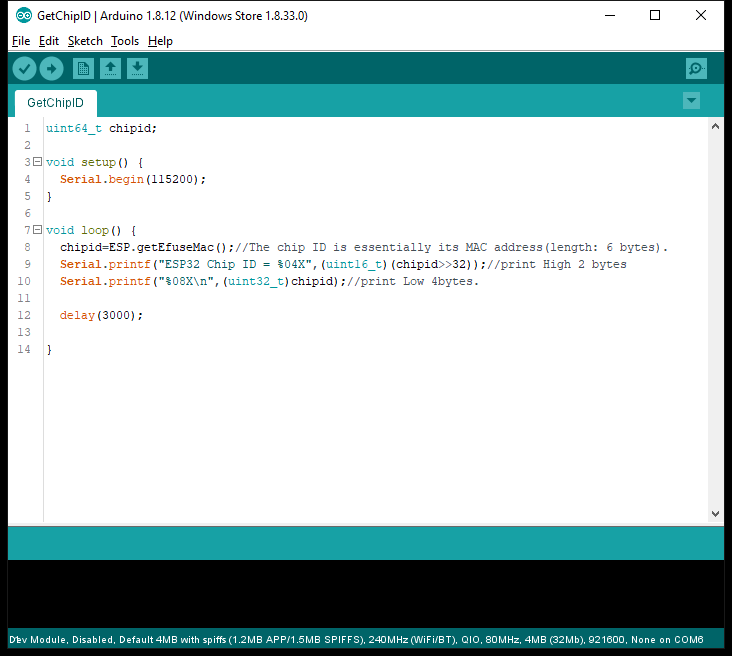
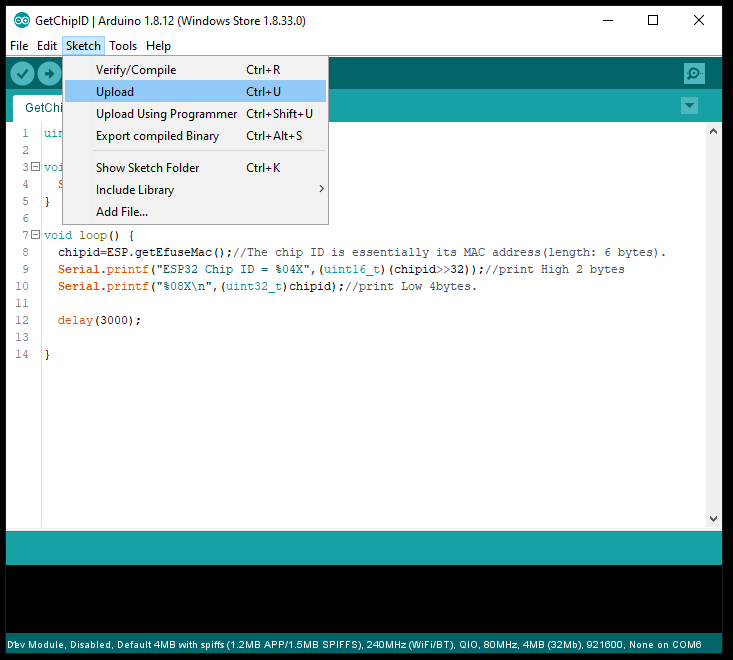
Code loaded for the GetChipID example
-
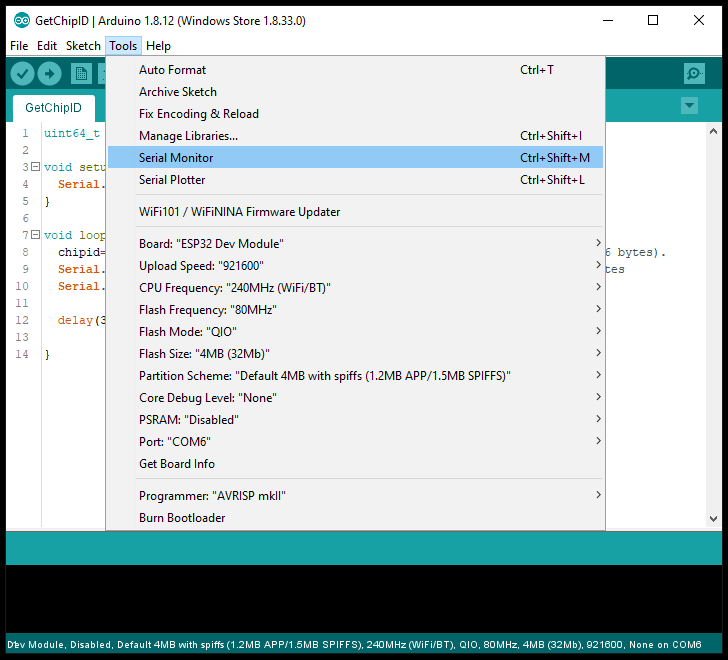
Open the Serial Monitor: Tools -> Serial Monitor
-
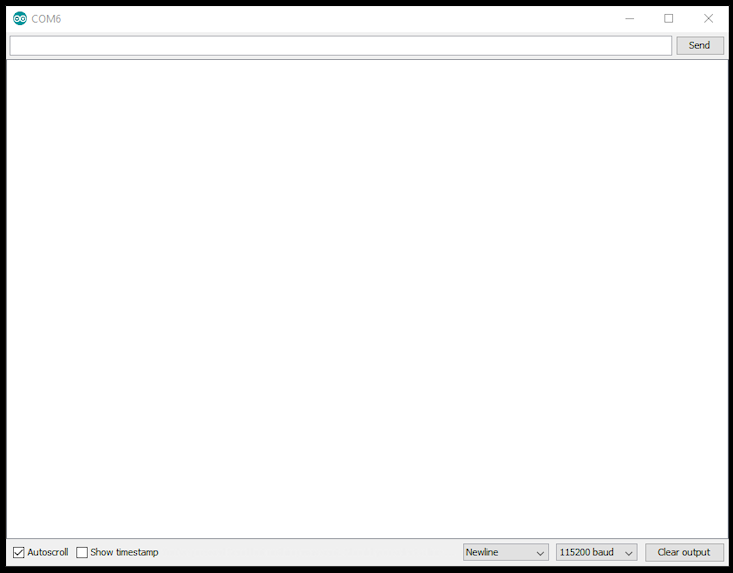
To display the Serial Monitor
-
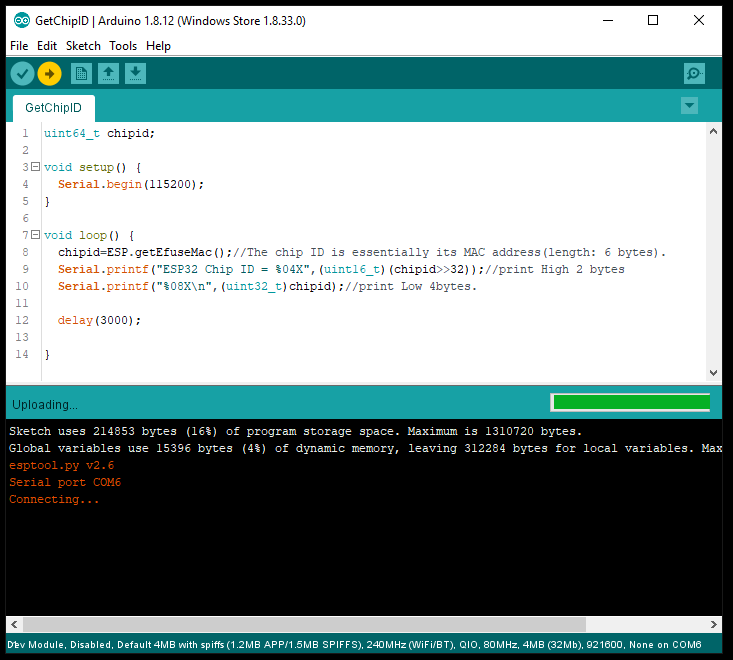
Upload the sketch into your attached ESP32: Sketch -> Upload
-
Or click on the Upload icon
-
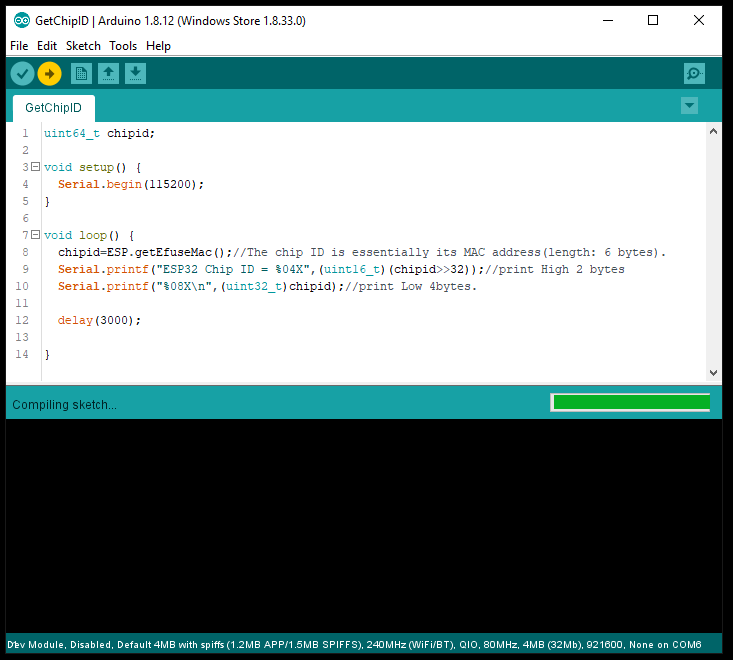
The Arduino IDE will compile the sketch

-
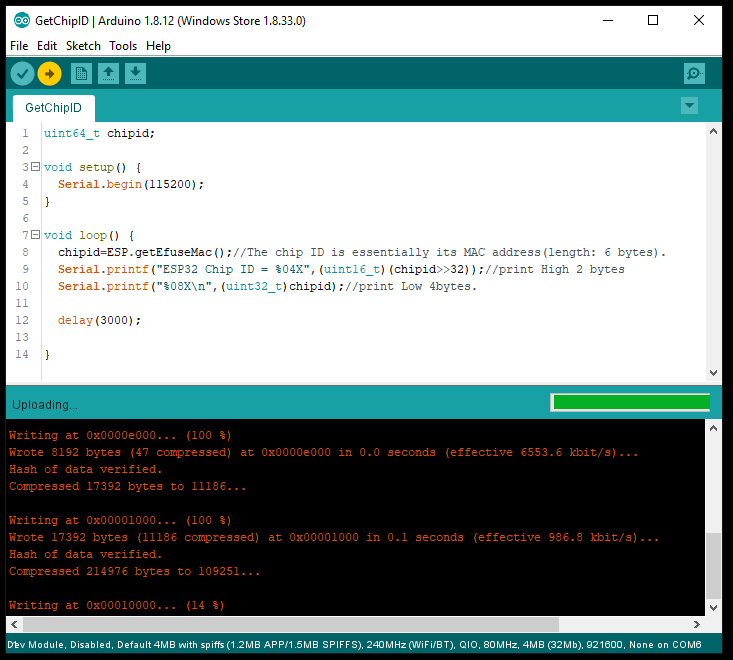
...connect to the ESP32
-
...and upload the sketch
-
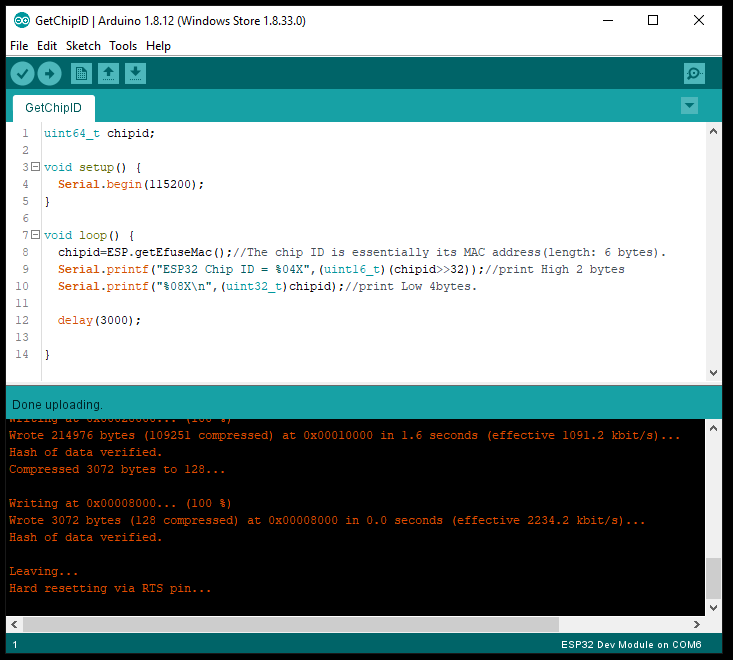
When completed a message will be displayed in the lower dialogue box stating: Hard resetting via RTS pin...
-
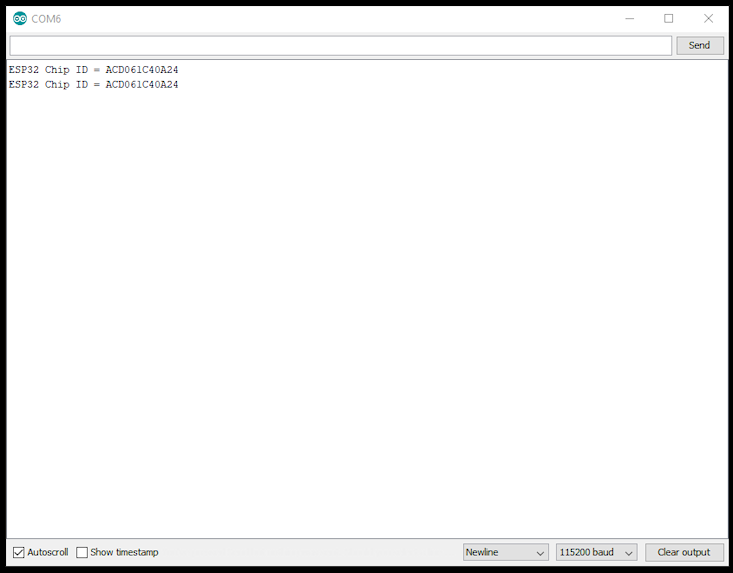
The program will now run & you should see the Serial Number of your attached ESP32 presented in the Serial Monitor. Refreshed every 3 seconds:
-
You should now have a working ESP32 Development Environment using Arduino IDE
-
Notifications
You must be signed in to change notification settings - Fork 1
derrickr/ArduinoDevEnvESP32
This commit does not belong to any branch on this repository, and may belong to a fork outside of the repository.
Folders and files
| Name | Name | Last commit message | Last commit date | |
|---|---|---|---|---|
Repository files navigation
About
Outline instructions to implement an ESP32 Development Environment using Arduino IDE in Windows 10
Resources
Stars
Watchers
Forks
Releases
No releases published
Packages 0
No packages published