
A project to engage with the bitcoin Lightning Network over RFID/NFC, using an ESP32, RFID-RC522, OLED, Keypad

Wiring diagram

This project comprises of:
- ESP32 & related Hardware
- Ziggy software
- Opennode.com account
- NFC Card Writer/Reader (initial build using the ESP32)
- PoS (final build upon 4. above)
It is assumed that you have a working Arduino Development Environment for your ESP32.
If not, please return when you have completed: ArduinoDevEnvESP32
1. Hardware
Here's a list of the hardware required, from Aliexpress.com (cheaper, but slower) & Amazon.co.uk (faster, more expensive):
-
ESP32 Wireless WiFi Bluetooth Development Board AliExpress / Amazon


-
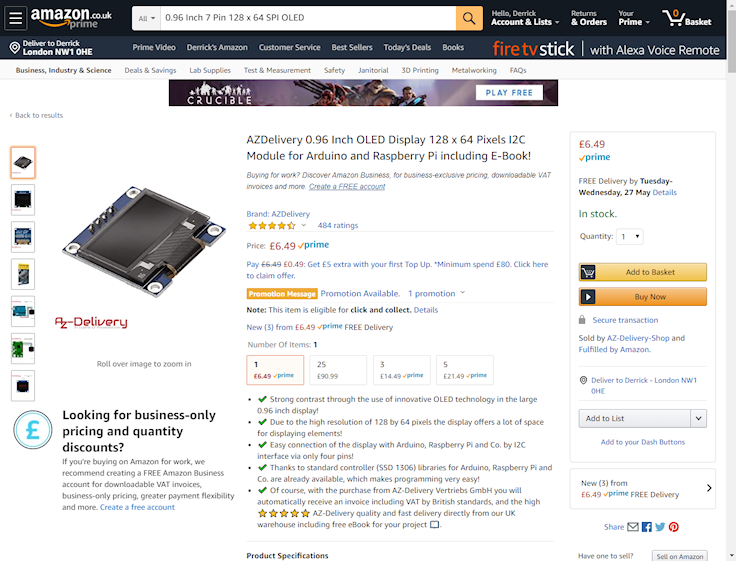
0.96 inch OLED White Display Module 128X64 SPI 7pin Driver Chip SSD1306 for Arduino Diy Kit AliExpress / Amazon

-
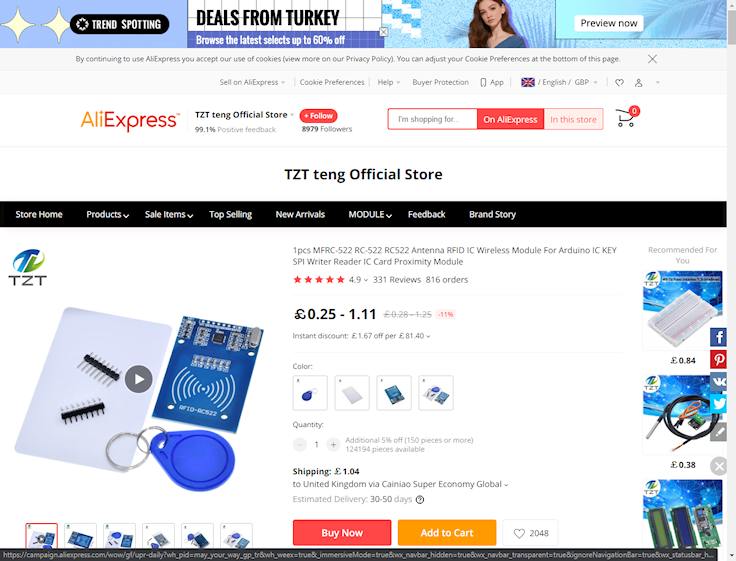
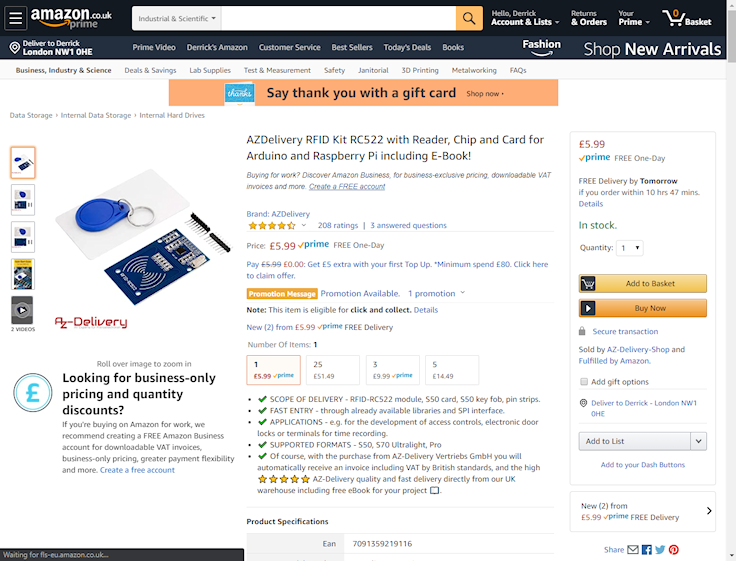
MFRC522 RFID Module for Arduino SPI Writer / Reader AliExpress / Amazon
-
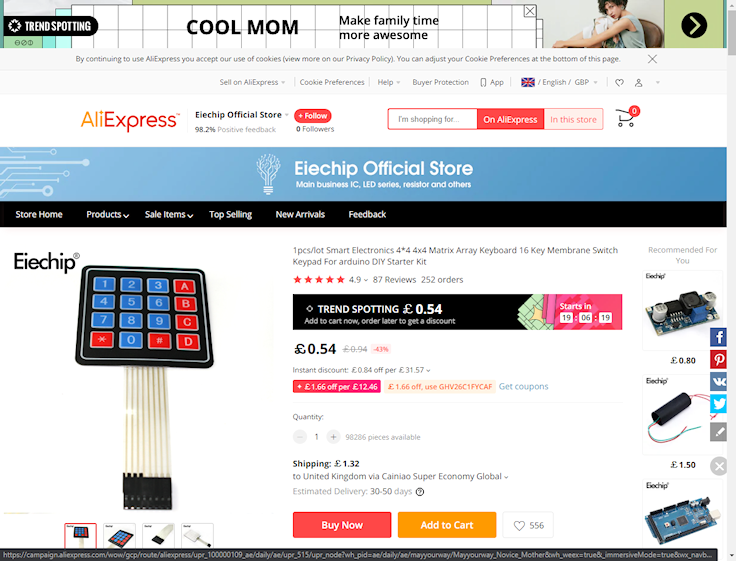
16 key membrane AliExpress / Amazon

2. Ziggy software
This method slightly differs from that used in Ben Arc's video in that all software is put in place ready for the project beforehand:
-
Download the Ziggy code from Ben's Github for the project
-
Extract the downloaded Ziggy-master folder & save into your home Arduino directory
-
Navigate to the writedata directory & rename main.ino to writedata.ino
-
Navigate to the PoS directory & rename main.ino to PoS.ino This directory should also include the apicalls.h file
Next we will install all the required libraris:
-
Open your Arduino IDE
-
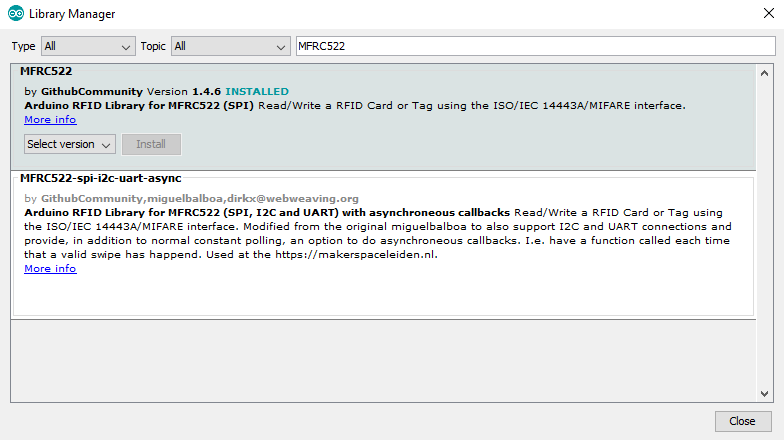
Click on: Sketch -> Include Libraries -> Manage Libraries
-
When loaded type: MFRC522
-
Select & Install: MFRC522 by GithubCommunity Arduino RFID Library for MFRC522 (SPI)
-
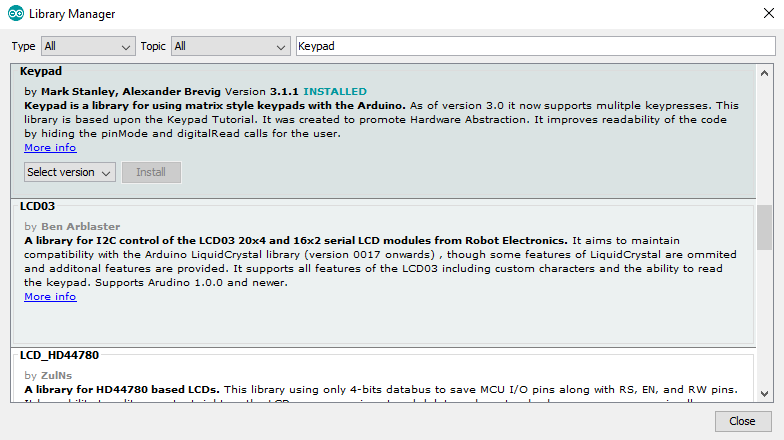
Repeat for:
- WiFi by Arduino
- U8g2 (by oliver)
- Keypad (by Mark Stnley, Alexander Brevig)
- ArduinoJson (by Benoit Blanchon) !Important - please ensure you select version 5.13.5 Newer versions (i.e. > 6+) will not work


-
If any of the above libraries are unavailable in your environment, please carry out a web search to find the library, download and unzip to your Arduino library location
e.g. C:\Users\Alice\Documents\Arduino\libraries
3. Opennode.com account
For this project we will be using opennode.com
Ben's youtube tutorial states that you should open a 'dev' account. However, the transactions woudn't show on my dev account, even after acquiring testnet bitcoins and I was utlimately advised by Opennode that I actually needed a production account for what I was trying to accomplish. After proceeding through Opennode's KYC to create an account I was then able to proceed.
-
Once logged in to Opennode, you should see the 'Developers' option in the left hand menu
-
Clicking on that will enable you to then click on the 'Integrations' option
-
Now click on 'Add Key' to bring a popup for your 'New API Key'
-
Enter a memorable label (e.g. NFC-Withdrawals) and select 'Withdrawals' from the Permissions dropdown
-
Now enter your 2FA code and click Generate.
-
You should now be presented with your new API Key: e.g. 64ab7f03-c9ef-2c0a-6bf8-73650c182f3a
-
Make sure to copy your new key. You won't be able to see it again!
-
This is your Customer API Key that will be used as the token on the NFC Card
Next, repeat the above but this time enter a different memorable label (e.g. NFC-Invoice) and select 'Invoice' from the permissions dropdown
- Again, make a note of the new generated API Key
- This is your Merchant API Key that is used to contact opennode to request an invoice and deposit the transaction's funds
4. NFC Card Writer
-
Navigate to your Ziggy writedata directory
-
Click on the file 'writedata.ino', which should be associated with, and open the file in, Arduino
-
Connect the MFRC522 RFID Module to your Arduino, as per the wiring digram
-
Ensure the correct Com Port is selected
-
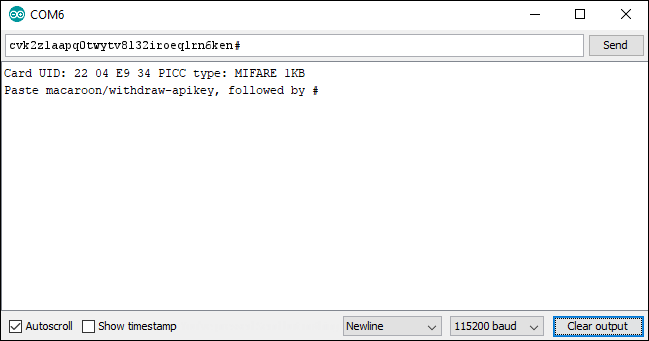
Open the Arduino Serial Monitor
-
Upload the code to the ESP32
-
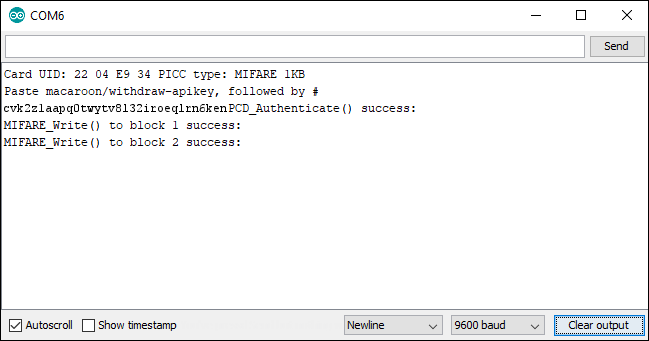
Place your NFC Card upon the NFC Writer module
-
Remove the hyphens from your Customer (NFC-Withdrawals) API Key
-
Paste in to the textarea at the top Serial Monitor, followed by the hash key #, then press enter
-
The Serial Monitor should show that your API Key has sucessfully been written to the NFC Card
5. PoS
-
Navigate to your Ziggy writedata directory
-
Ensure the 'apicalls.h' file is located within this directory
-
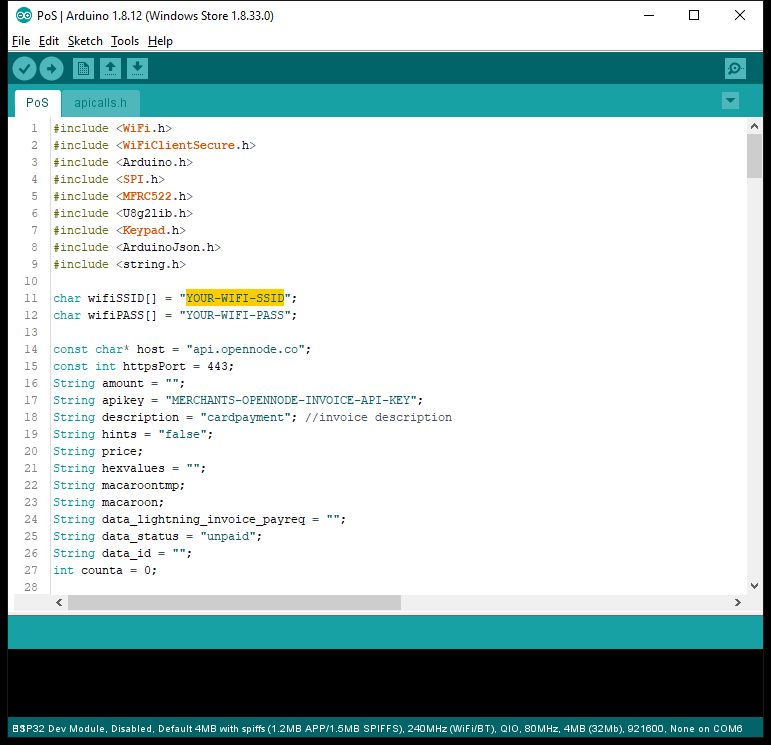
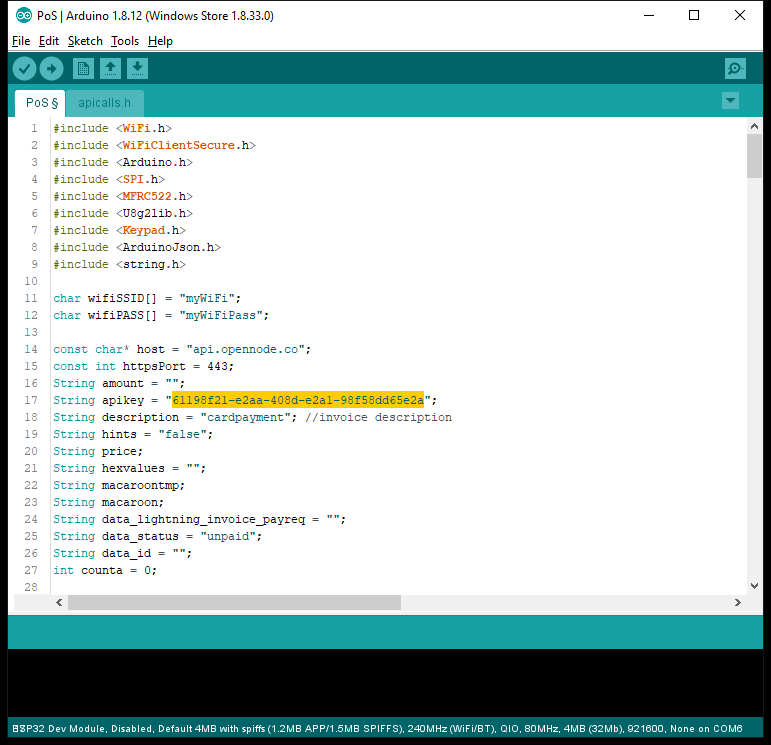
Click on the file 'PoS.ino', which should be associated with, and open the file in, Arduino.
Note, the above mentioned apicalls.h should also be present in the Arduino IDE in a separate tab
-
Enter you WiFi details for wifiSSID and wifiPASS into the code on lines 10 & 11
-
Enter your 'Merchant' (NFC-Invoice) API Key on line 17
-
Connect the Display and keypad to your Arduino, as per the wiring diagram above
-
Ensure the correct Com Port is selected
-
Open the Arduino Serial Monitor
-
Upload the code to the ESP32
-
Upon completion you may need to press the Boot button on the ESP32
-
The OLED should then display "connecting..." and assuming your WiFi details are correct and present, it should connect and briefly display: "connected", followed by "Sats:"
-
Using the keypad enter the amount of Sats you wish to charge, followed by the # key
-
The OLED should display an elipsis (3 dots) "..." followed by "Tap card"
-
Place your NFC card upon the NFC Card Reader
-
After a few seconds the OLED should then display "Paid!"
-
You should now have a working Point of Sale NFC system using Lightning.